Merry Christmas!

Wednesday, December 23, 2015

Merry Christmas and a Happy New year from The Duncans Handiworks..


How to make a Ulgy Sweater texture

Wednesday, December 16, 2015

                        How to make a ulgy sweater texture


This will probably be my last post til after Christmas ..I am gonna be busy baking and spending time with my family but I did promise you the ulgy sweater tutorial..This is how I do make it I am sure there are others ways to do this..
So lets begin:

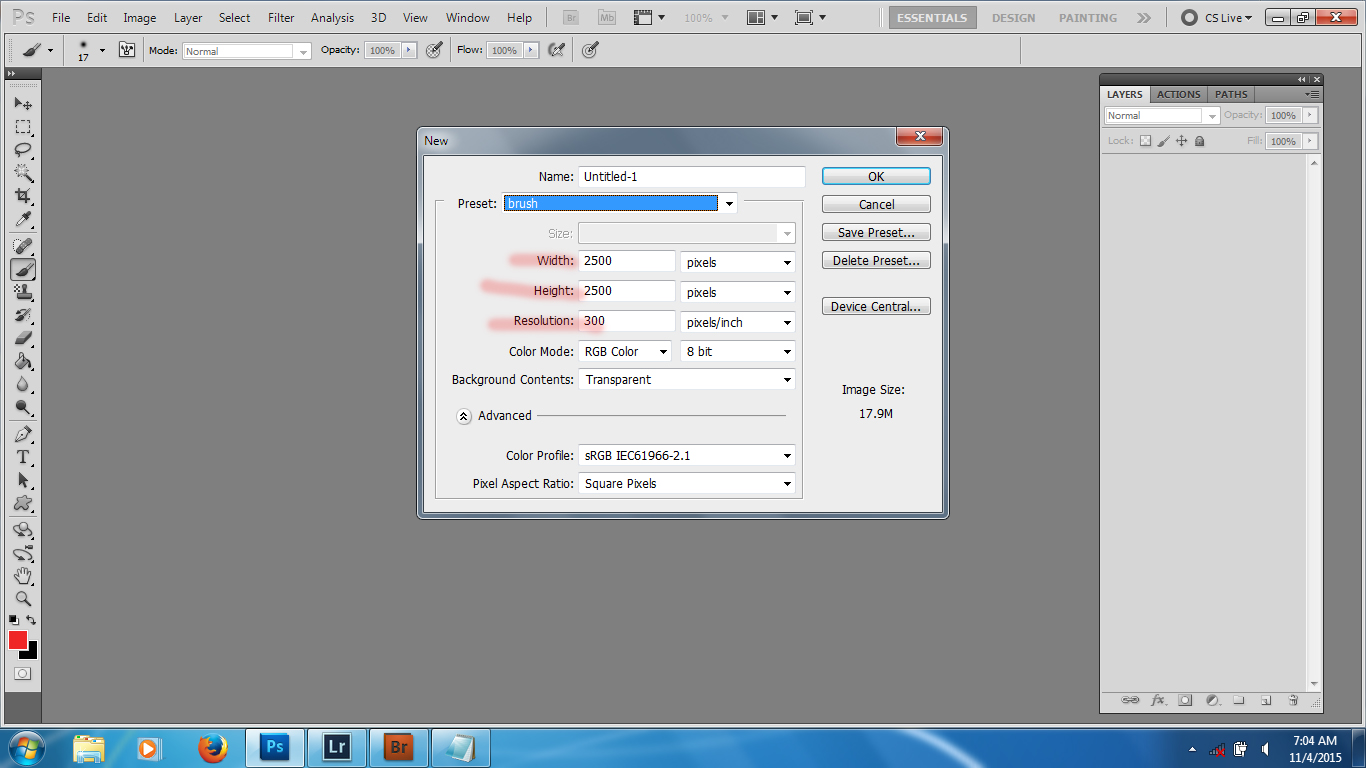
Create a new layer 2000x2000 pixels 300 resolution with a background transparent.
 click on gradiant overlay change style to radial and on the gradient
click it on the little arrow on the left bottom change the color to 24331e and on the right bottom arrow change color to 92a78a and click ok..
you should have this..


Click on the rectangle tool.. set your foreground color to e5dede and draw
a rectangle in the center click enter ...right click.. click convert to
smart objects this let you come back and change things if you want too..
Now go  filter: distort:wave set wave 10- 221 amplitude 1-6 scale 100-100
click ok..now add a gaussian blur 5..now click bevel and emboss change
 highlight mode to soft light..opacity around 42 shadow mode to overlay
 opacity 39


Now lets add another triangle shape just above the first triangle but
first change your foreground color to 8c2e2e draw your triangle like
 before just not as wide click enter.. right click and click on
new smart object.. now click filter: distort.:wave : wave-10-245
 amplitude 1-6 scale 100-100..then click gaussian blur- 6 than bevel and emboss
 same as above..
now duplicate the layer and move down to the bottom of the first shape
,,now click on the wave layer and only change the amplitude to 1-10 ..click ok


ok now  lets add some trees go to your custom shape tool ...scroll down the list until you get to the tree and change your foreground color to a green color you like and draw a tree on the left and right side of the first shape and draw 2 more trees in the middle in a different color..now highlight them all and click up top on the center tool to line them straight..now lets add some snowflakes doing the same as the trees but this time put them above the trees..(don't pick pure white pick a off white / gray color cause once we apply our texture it won't work out great..) straighten the snowflakes..now highlight all the snowflakes right click merge layers..right click again duplicate move to the bottom shape..
now on the trees and snowflake layers lets add gaussian blur 2.4 and add the bevel and emboss same setting as above..


Now it is time for the texture..find a sweater fabric of your liking or use the one I have..
open the fabric place it over your image you might have to adjust it by
 clicking CTRL-T..change layer style to soft light..click on levels click
the second eyedropper and click first little arrow and adjust til it gets
 darker or if it looks ok for you than leave it..the end arrow lighten it
 just play around til you find what you like..and that is it..You can add
 Merry Christmas  or more images to your like just do it like you done with the other images..

                                                  Right click and save as the fabric...

I used this texture to make my ulgy sweater tags..Good luck If you need help leave me a message.

Ulgy Christmas Sweater Tags

Friday, December 11, 2015

                       Ulgy Christmas Sweater  Tags

2 weeks til Christmas!! Is everyone excited yet!! Not I ..I still have some shopping to do so I better get on with it..I have been wanting to figure out how to do a ulgy Christmas sweater and made it into a tag.. I will do a tutorial on how to make the ulgy Christmas sweater soon..

I hope you enjoy..The tags are in a png format just print on card stock


Download HERE..

How to add Photo and snow to a snow globe

Tuesday, December 8, 2015


                               Snow globe Instructions..


Open up the snow globe image in Photoshop..
Find the photo you would like to use..
Open the photo and drag in onto the snowglobe..you might want to turned down the opacity so you can see where to place the photo to the snowglobe..


Click  CTRL T and transform your photo to fit the snow globe..
When you like it how it looks than click "Enter"..

Click the layer mask button at the bottom of your layer pallet and it will put a mask beside your photo..


Make sure your get a black brush and start painting away the edges on the layer mask [not the actual photo] to blend in with the snowglobe..
Now bring your opacity back up to where you like it best..
Do the same with the snow layer but change the snow to screen and also put a layer mask and use black brush to remove any snow you don't want "like on the face" also make sure this layer is on the top of all the other layers..


You now can put Merry Christmas Or whatever you like...I hope you enjoyed the tutorial..
Download the zip file HERE

DIY Joy Sign

Tuesday, December 1, 2015

                                      DIY Joy Sign

December 1st only a few weeks left to get all my Christmas shopping done..It doesn't feel like Christmas here the weather has been to warm..Anyways as I was doing some decorating I found some boards my husband brought home from work so I thought I could make a sign from this..

This is so simple..if I can do it so can you..

The board my husband bought home I painted it lightly black and sanded it down some to make it look a little worn..


I then printed some big fat font for a stencil..I printed the letters on cardstock and traced around each letter..


 I then took a art paint brush and started painting each letter with white paint I got at Walmart ..


I love how it turned out..so simple to do..


I took some old burlap that I had left and made a bow to put on it... I love it!! Happy December..

Confetti Christmas

Monday, November 30, 2015


                             Confetti Christmas Photo card

Well Thanksgiving has come and gone now on to Christmas-Wow it comes around faster and faster the older I get..I bee trying to get my decorating and my tree up just seems like so much to do and never get done..Before Thanksgiving I was working on another photo card but never got the chance to share so now I am sharing..

I made this in Photosho cs5 8x10 300dpi..I hope you enjoy...

I have a few tutorials I will share with you soon..


I took the picture of my little nephew snow bear for the photo ..you can download HERE

How to make a Photoshop Confetti Brush

Wednesday, November 25, 2015

                How to make a Photoshop Confetti Brush

Open a new document 2in x 2in resolution 300 background white click ok..

go to your paint brush and select the square brushes ..if the Square brushes aren't visible click on the arrow and look through the list for square brushes..make a new layer ..Pick one of the square brushes..I picked number 18.. You change the background and foreground color to your
 liking..


Now open the brush panel by clicking the little folder by the font size of brush...click on "shape dynamics" set the jitter size to 100% -angel to 84% or what you like best..roundness jitter 100%


Next put a check beside "scattering" and click on it ..scatter 1000% and the count to 2


Create a new layer  and try your brush out...You can go back and try different setting as well..you can also try putting a check by "color dyamics" double click and play around with the settings.. I hope you enjoy the tutorial if you have any question leave a comment..

Thanksgiving Printable

Monday, November 23, 2015

                                Thanksgiving Printable


We have busy here making some of our Christmas projects that I haven't had time to post but I did make a 8x10 Thanksgiving printable to frame..You are welcome to use..just right click and save and print.. Enjoy!


More Christmas overlays

Friday, November 20, 2015


                              More Christmas Overlays

  Here are 2 more Christmas Phrase overlays..

Merry Christmas download HERE..
Happy Holidays download HERE.. 


Christmas Overlays

Monday, November 16, 2015

                                Christmas Overlays


I made some Christmas words overlays in png format to go over your photos or to make Christmas cards whatever project you decide to use them on..


                                                           Download Here....

Thank-you Veterans

Wednesday, November 11, 2015

                               Thank-you Veterans


                                              Thank you all and Thank you my Son..


How to make a snow overlay and applying it to a photo

Tuesday, November 10, 2015

     How to make a snow overlay and applying it to a photo


Go to file create new 800 x 800 resolution 100 and fill it with black paint..


Next go to Filter...Noise..Add noise ..I go up to 280 make sure Gaussian and Monochromatic is checked (The higher you set the blur the bigger the snowflakes} click ok..Now go to Filter and click blur and blur more...


 Ok now we have to much noise..We need to get rid of some of the noise.. Go to Image ..Adjustments and  click on levels..Drag the white arrow to lighten and the Black arrow to remove some noise..(Play around and see what you like) once done save your snow overlay..


Now open the photo you want to add the snow overlay to..Drag the overlay onto your photo..You might have to click CTRL+T to adjust the overlay to fit your photo..Click  Filter..Motion Blur and in the angle put -65 and distance 8 pixels (Play around pick what you like) then Change the snow overlay blend mode to "Screen" and that is it!! I wanted to see more snow on my photo so I duplicated the snow overlay layer..


 Finish outcome-(our cat Whiskers)

How to create a Photoshop brush

Wednesday, November 4, 2015

                          How to create a Photoshop brush

 I was looking for some photoshop brushes to use for my printables but just couldn't find any I liked so I made my own brushes and figured this could be a Photoshop tutorial for you guys..

Let's get started...
I like to clear my brush pallet out so the brushes that I make  I  save them as a brush set for later use..
Go to Edit and select preset manager ans make sure the preset type is set on brushes..now click on a brush then hold the shift key down and select the rest of the brushes..once all of them are selected click delete and it should be empty..


Go to file and new ...create a  2500x2500 300 resolution.. the maximum size in photoshop is 2500x2500 300 resolution ..I always make it that size so I don't worry if it work or not..


If you draw your image you need to make it in grayscale..Go to Image-mode-grayscale..you can draw an image or I am going to use a custom shape and draw it out once you draw it right click anf rasterize layer


Next go to Edit and define brush set and name your brush/brush set and click ok..your brush should be the Paw or whatever you draw..


Once you create all your brushes for this set and your ready to save them Click on the little folder by your brush (Its in your brush Pallet) make sure it is on brush presets..Click on the little arrow pointing down and you will see save brushes ..Name your brushes and  make sure you get out of grayscale..and that is it!


I hope I didn't confuse you..lol If you have any question leave a comment..
Related Posts Plugin for WordPress, Blogger...
 

The Duncans Handiwork

Subscribe to get updates on tutorials ..etc..